
Ok, so HttpInvoker may not be the what the hipsters are using (it’s been around since 2003 or so) but there are still plenty of Java desktop applications out there communicating over RMI or EJB that could use a security boost by using OAuth 2.0.
If you’ve got a desktop app communicating to a server over RMI, how are you authorizing the calls? If the app is on the end-user’s machine, how can you keep any secret auth information?
- username/password? - exposed
- static token? - exposed
Although obfuscation mechanisms can be used, any text can be extracted from the jar on the persons machine.
So how can you keep a secret on a public application? You can’t. But OAuth 2.0 authorization grant type can be used in combination with PKCE to obtain short-lived access tokens for a specific user to securely communicate with server endpoints.
How can we do this?
Let’s build on baeldungs’ http-invoker tutorial. It doesn’t use a typical desktop client but you can imagine this Spring Boot application running on the end users machine, and communicating securely with a server somewhere else, without needing to have any secrets! Essentially, the server allows remote invocations of a CabBookingService via the http://localhost:8080/booking endpoint. The client invokes it by hitting http://localhost:8081 on the client after an authorization code flow to obtain access tokens for the server. Here we go!
First create an OAuth 2.0-aware WebClient:
@Configuration
public class WebClientConfig {

  @Bean
  WebClient webClient(ClientRegistrationRepository clientRegistrationRepository, OAuth2AuthorizedClientRepository authorizedClientRepository) {
    ServletOAuth2AuthorizedClientExchangeFilterFunction oauth2 = new ServletOAuth2AuthorizedClientExchangeFilterFunction(clientRegistrationRepository, authorizedClientRepository);
    oauth2.setDefaultOAuth2AuthorizedClient(true);
    return WebClient.builder()
        .apply(oauth2.oauth2Configuration())
        .build();
  }
}
Create a custom WebClientHttpInvokerRequestExecutor that will send your requests using the OAuth 2.0-aware WebClient:
public class WebClientHttpInvokerRequestExecutor extends AbstractHttpInvokerRequestExecutor {

  private final WebClient webClient;

  public WebClientHttpInvokerRequestExecutor(WebClient webClient) {
    this.webClient = webClient;
  }

  @Override
  protected RemoteInvocationResult doExecuteRequest(HttpInvokerClientConfiguration config, ByteArrayOutputStream baos) throws IOException, ClassNotFoundException {
    InputStreamResource inputStreamResource = this.webClient
        .post()
        .uri(config.getServiceUrl())
        .header(HTTP_HEADER_CONTENT_TYPE, CONTENT_TYPE_SERIALIZED_OBJECT)
        .syncBody(new ByteArrayResource(baos.toByteArray()))
        .exchange()
        .flatMap(response -> response.bodyToMono(InputStreamResource.class))
        .block();

    return readRemoteInvocationResult(inputStreamResource.getInputStream(), config.getCodebaseUrl());
  }
}
Ensure your security configuration uses Spring Security’s OAuth 2.0 Client and uses OAuth 2.0 Login to protect every endpoint. When you hit a protected endpoint via a web browser, Spring Security will request authentication and redirect you to its login page.
@EnableWebSecurity
public class SecurityConfig extends WebSecurityConfigurerAdapter {

  @Override
  protected void configure(HttpSecurity http) throws Exception {
    http
      .authorizeRequests()
        .anyRequest().authenticated()
        .and()
      .formLogin()
        .and()
      .oauth2Login()
        .and()
      .oauth2Client();
  }
}
To use our WebClientHttpInvokerRequestExecutor, hook it up to HttpInvokerProxyFactoryBean something like so
@Bean
public HttpInvokerProxyFactoryBean invoker(HttpInvokerRequestExecutor httpInvokerRequestExecutor) {
  HttpInvokerProxyFactoryBean invoker = new HttpInvokerProxyFactoryBean();
  invoker.setServiceUrl("http://localhost:8080/booking");
  invoker.setServiceInterface(CabBookingService.class);
  invoker.setHttpInvokerRequestExecutor(httpInvokerRequestExecutor);
  return invoker;
}

@Bean
public HttpInvokerRequestExecutor httpInvokerRequestExecutor(WebClient webClient) {
  return new WebClientHttpInvokerRequestExecutor(webClient);
}
The client registration and provider are below. Notice there is no client-secret and that the client-authentication-method is none. This tells Spring Security to use PKCE to secure the authorization code flow.
spring:
  security:
    oauth2:
      client:
        registration:
          client-id:
            client-id: 0oaj42d3hpR3EVrtK0h7
            provider: okta
            scopes: email,openid,profile
            client-authentication-method: none
        provider:
          okta:
            issuer-uri: https://dev-334545.oktapreview.com/oauth2/default
The server config is super simple.
spring.security.oauth2.resourceserver.jwt.issuer-uri: https://dev-334545.oktapreview.com/oauth2/defaultI’ve shown most but not all of the code but let’s try it all out!
Assuming you’ve cloned the project from GitHub, start up the server and then the client. Trigger a login flow on your client by going to http://localhost:8081 in your browser and you’ll get a screen like this:
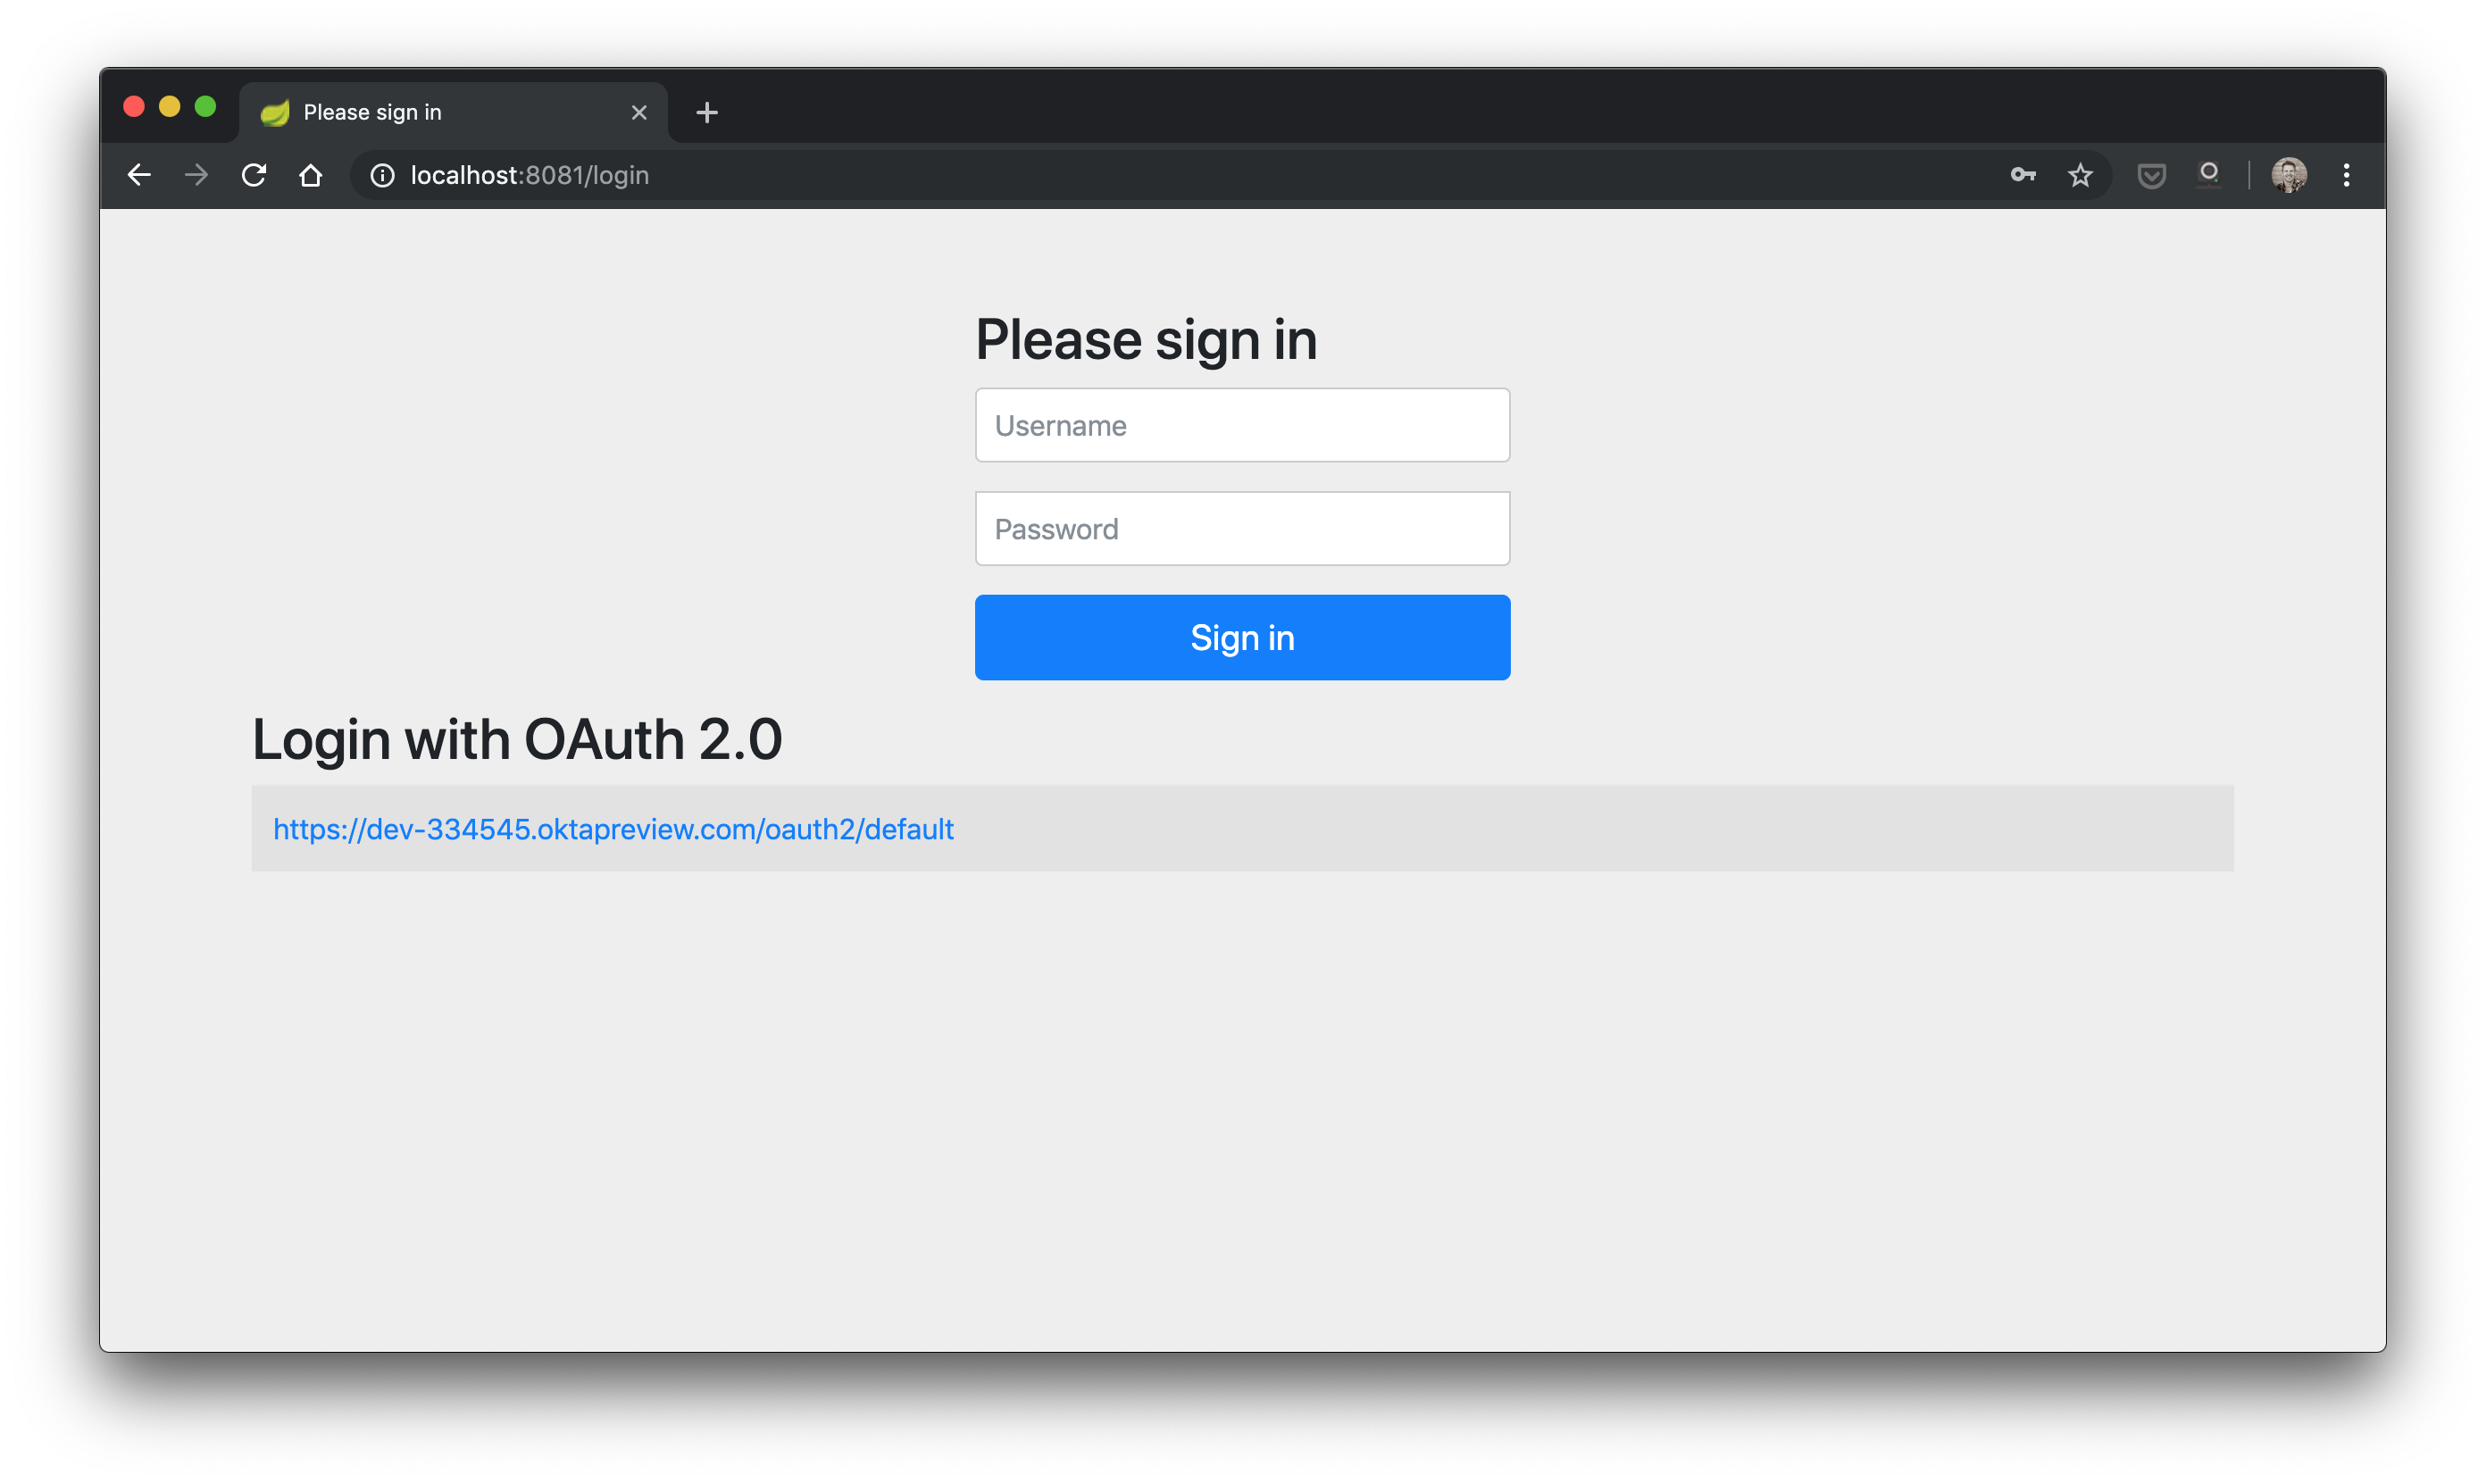
Click on the Okta link and you should see the Okta IdP sign in page below (unless you’ve already signed in to the Okta IdP)
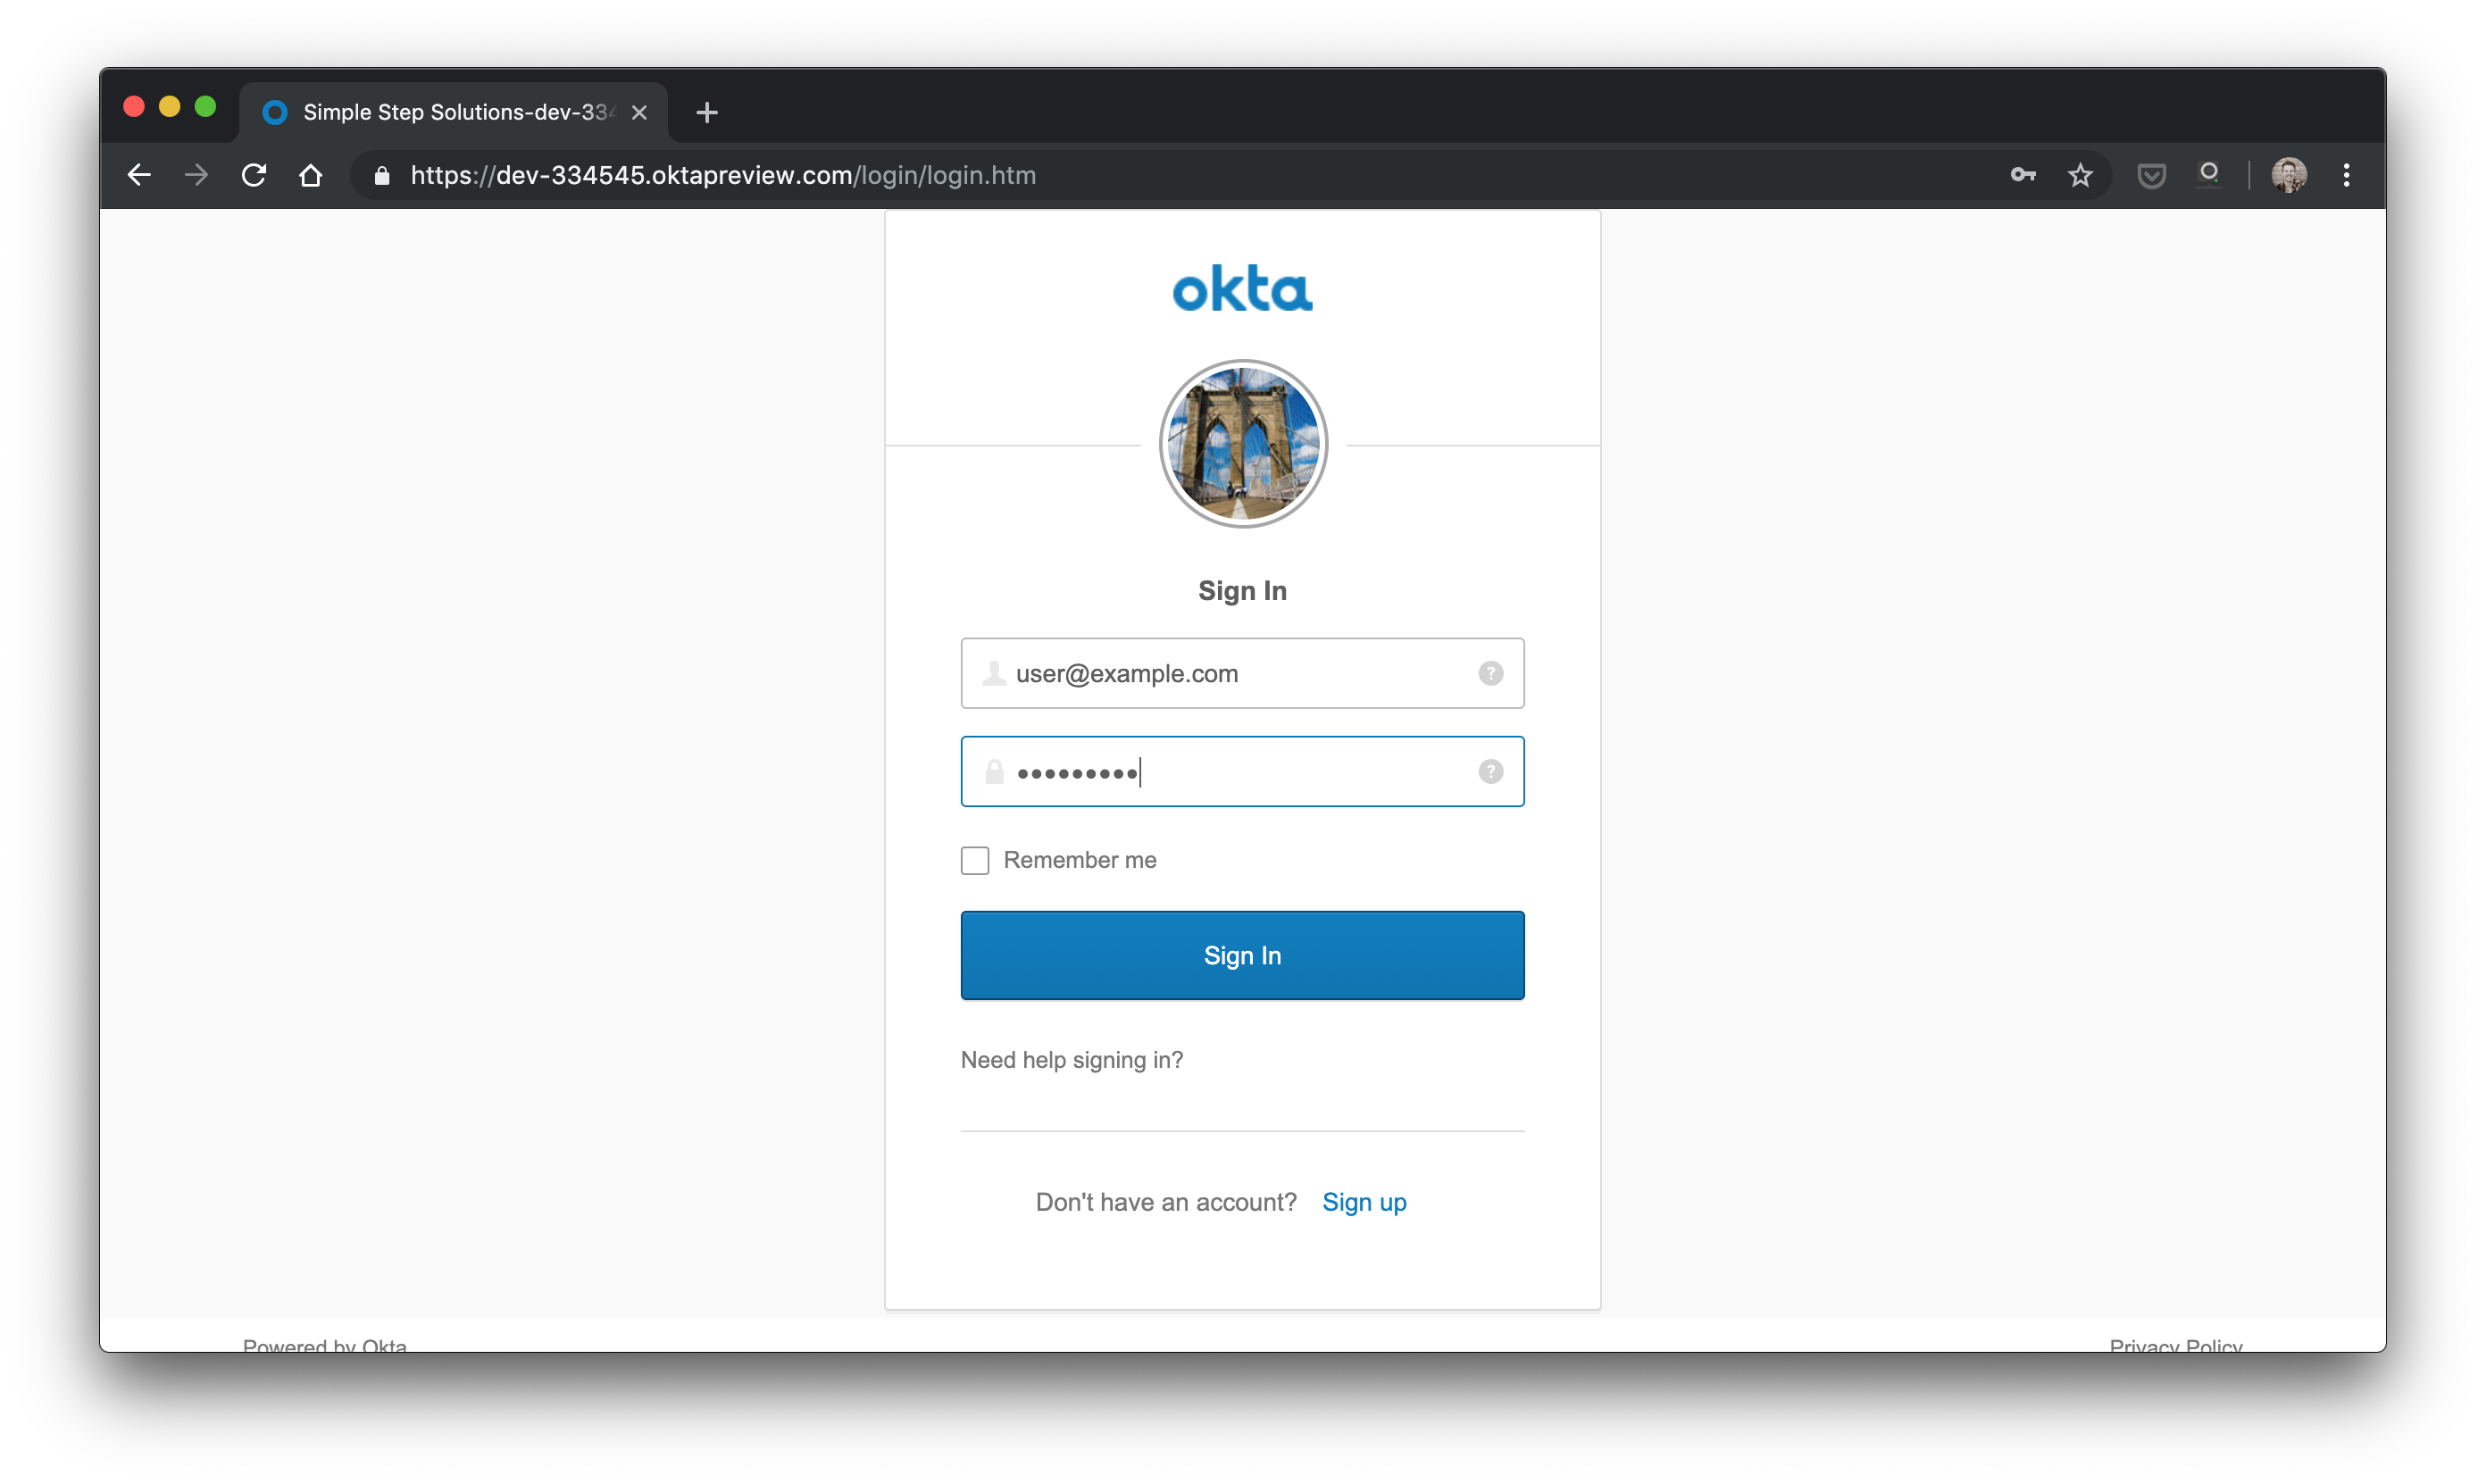
Sign in with user@example.com/Password1 (if someone hasn’t changed it!) or sign up for your own account with Okta on that IdP instance (using the sign up link on the page). Once you’ve signed in to Okta’s IdP, your client should have an access token with which it can talk to the server! In fact, you should already see something like this in your browser:
Ride confirmed: code '0d0b9f4a-0244-4c26-a8b2-1ce908e6756f'.
This means you hit the server using HttpInvoker and received a response! Woohoo :)
I hope you enjoyed doing fun learning how to do modern OAuth 2.0 PKCE stuff even with older tech like Http Invoker! Please let me know what you thought of this tutorial in the comments below or on Twitter. Feel free to clone, star, or browse the code on GitHub.